But why, tho?
Lately I’ve been watching a lot of YouTube videos of watercolour swatching, and through the YouTube rabbit hole got onto handmade watercolour paints. And that led to handmade pigments, and now I have (another) project on my hands because I decided I must have a go at making some paint of my own.
Project goals
I’m going to attempt to make some watercolour paint from foraged earth pigments (i.e. rocks I found on the farm). Hopefully I’ll get a range of different colours – ambitiously twelve but if I end up with six distinct colours I’ll be happy.
Process
Finding soft rocks
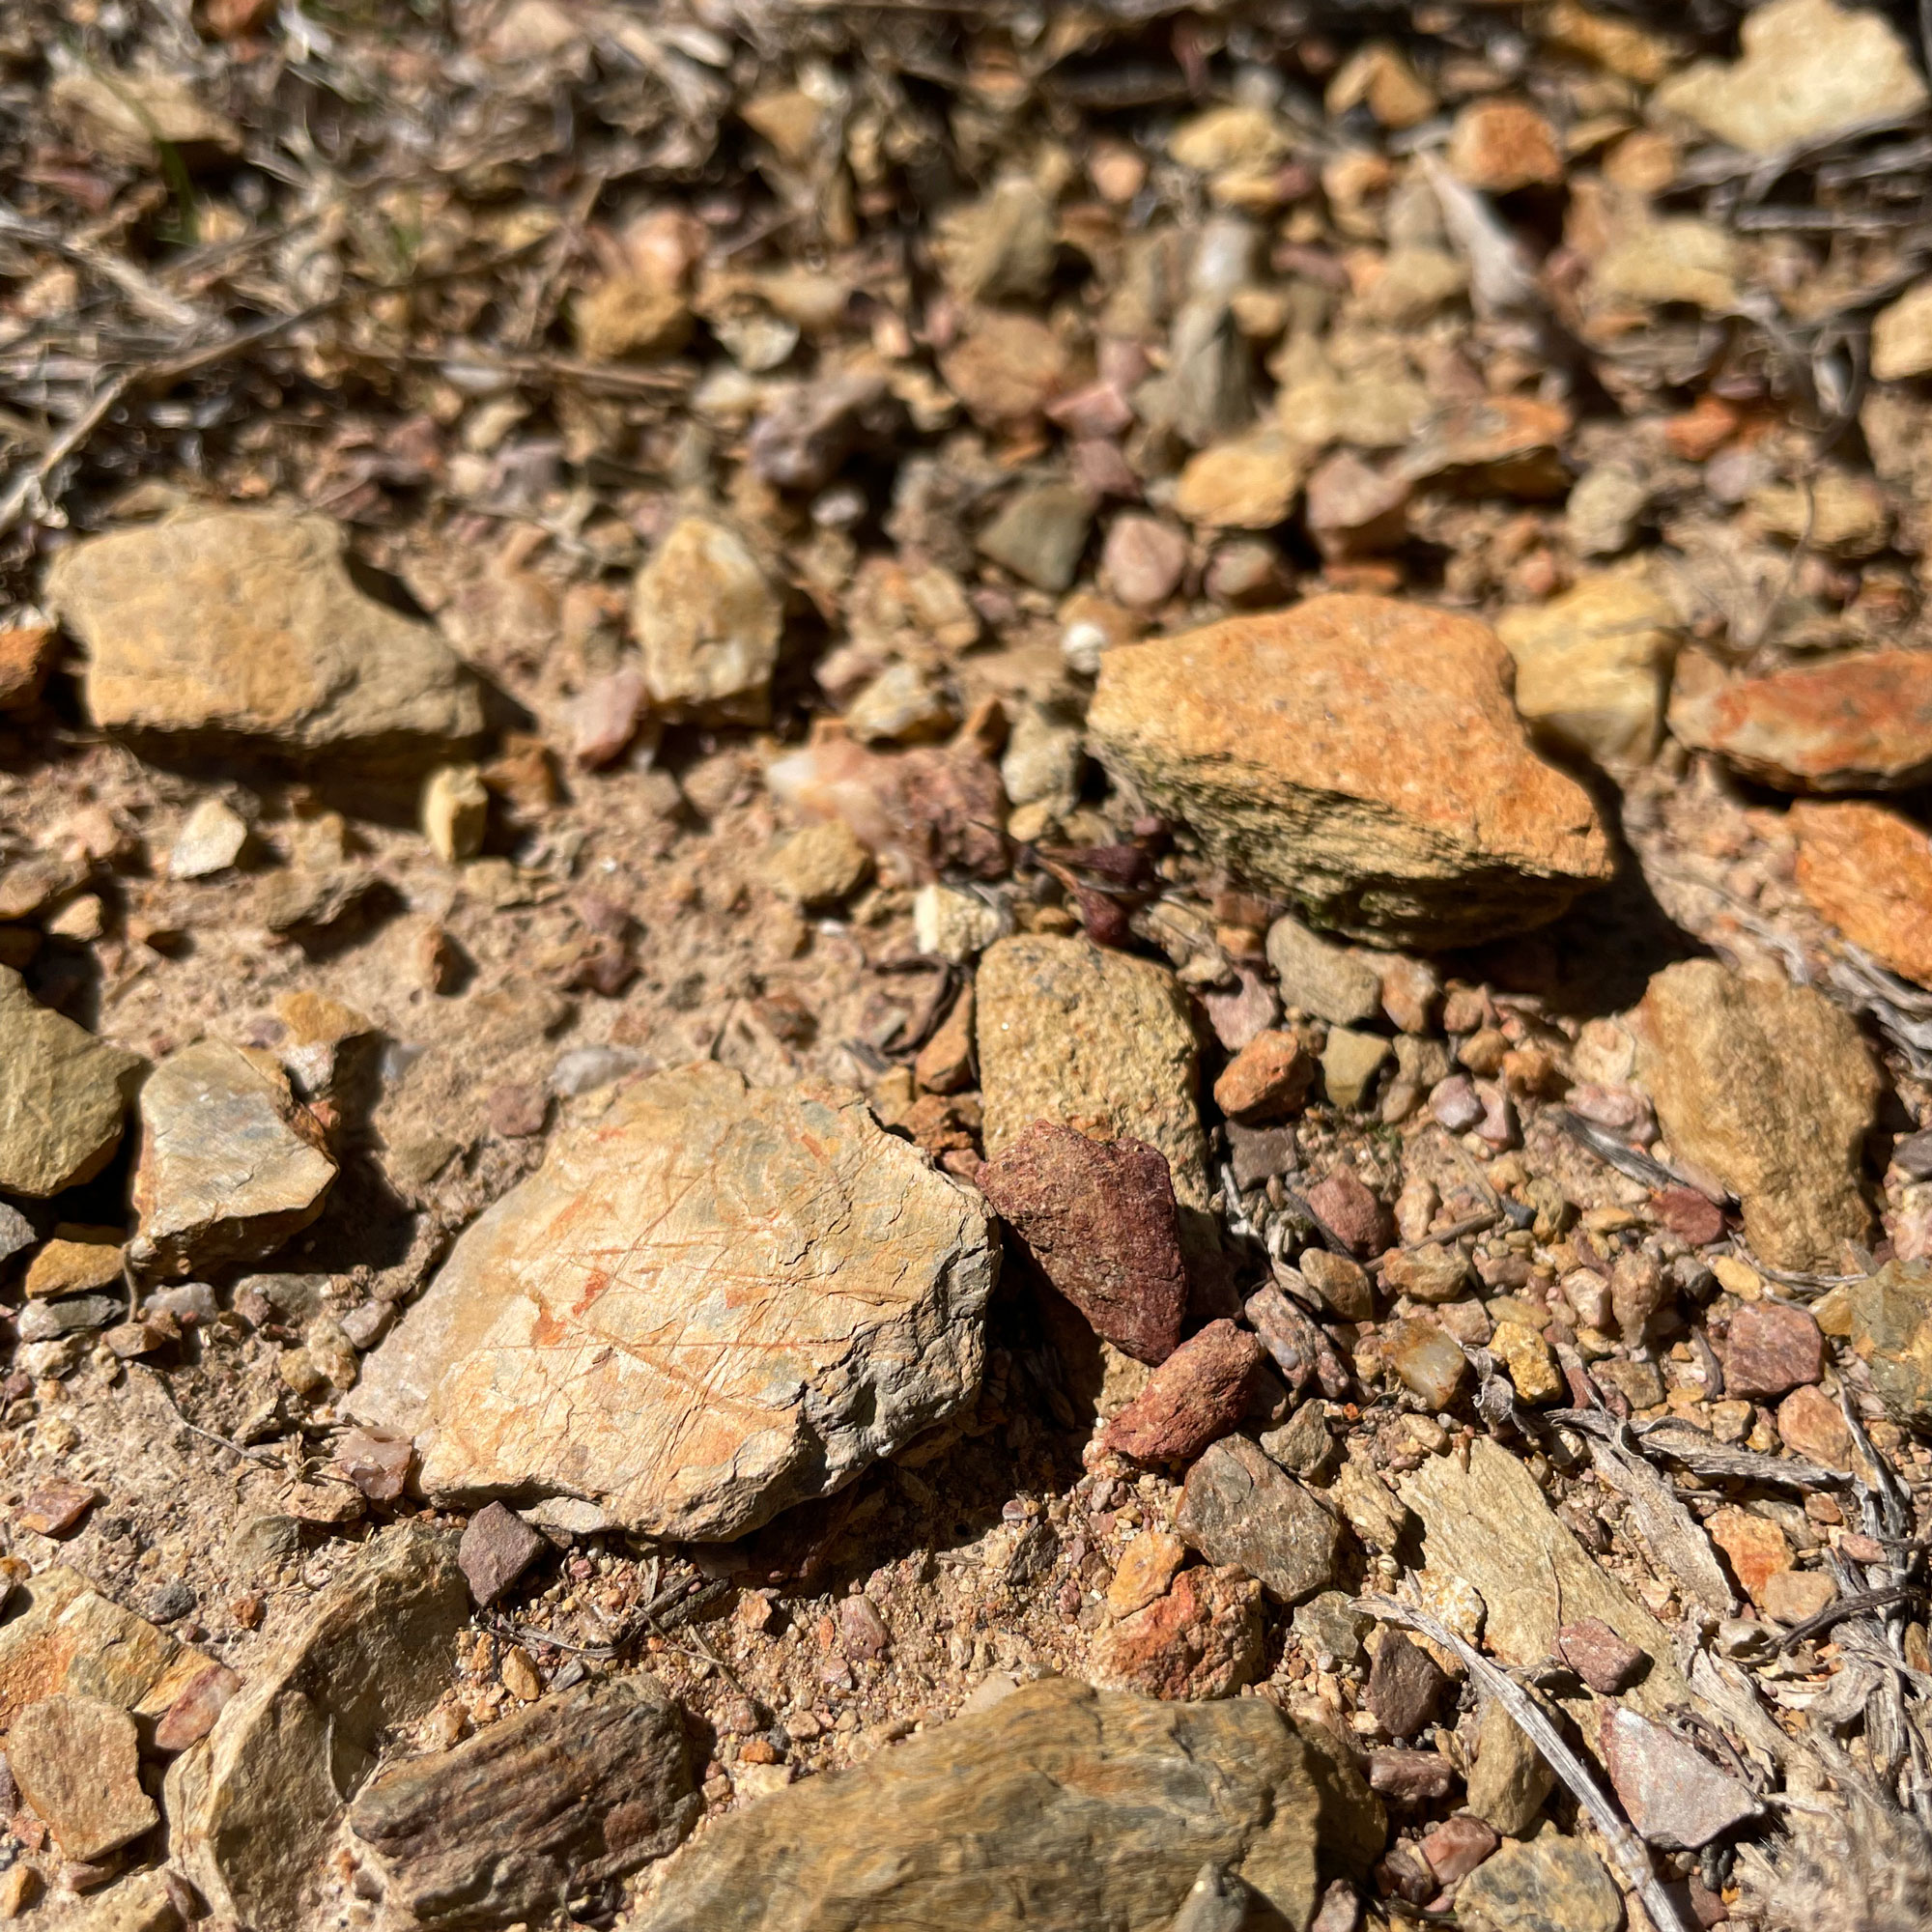
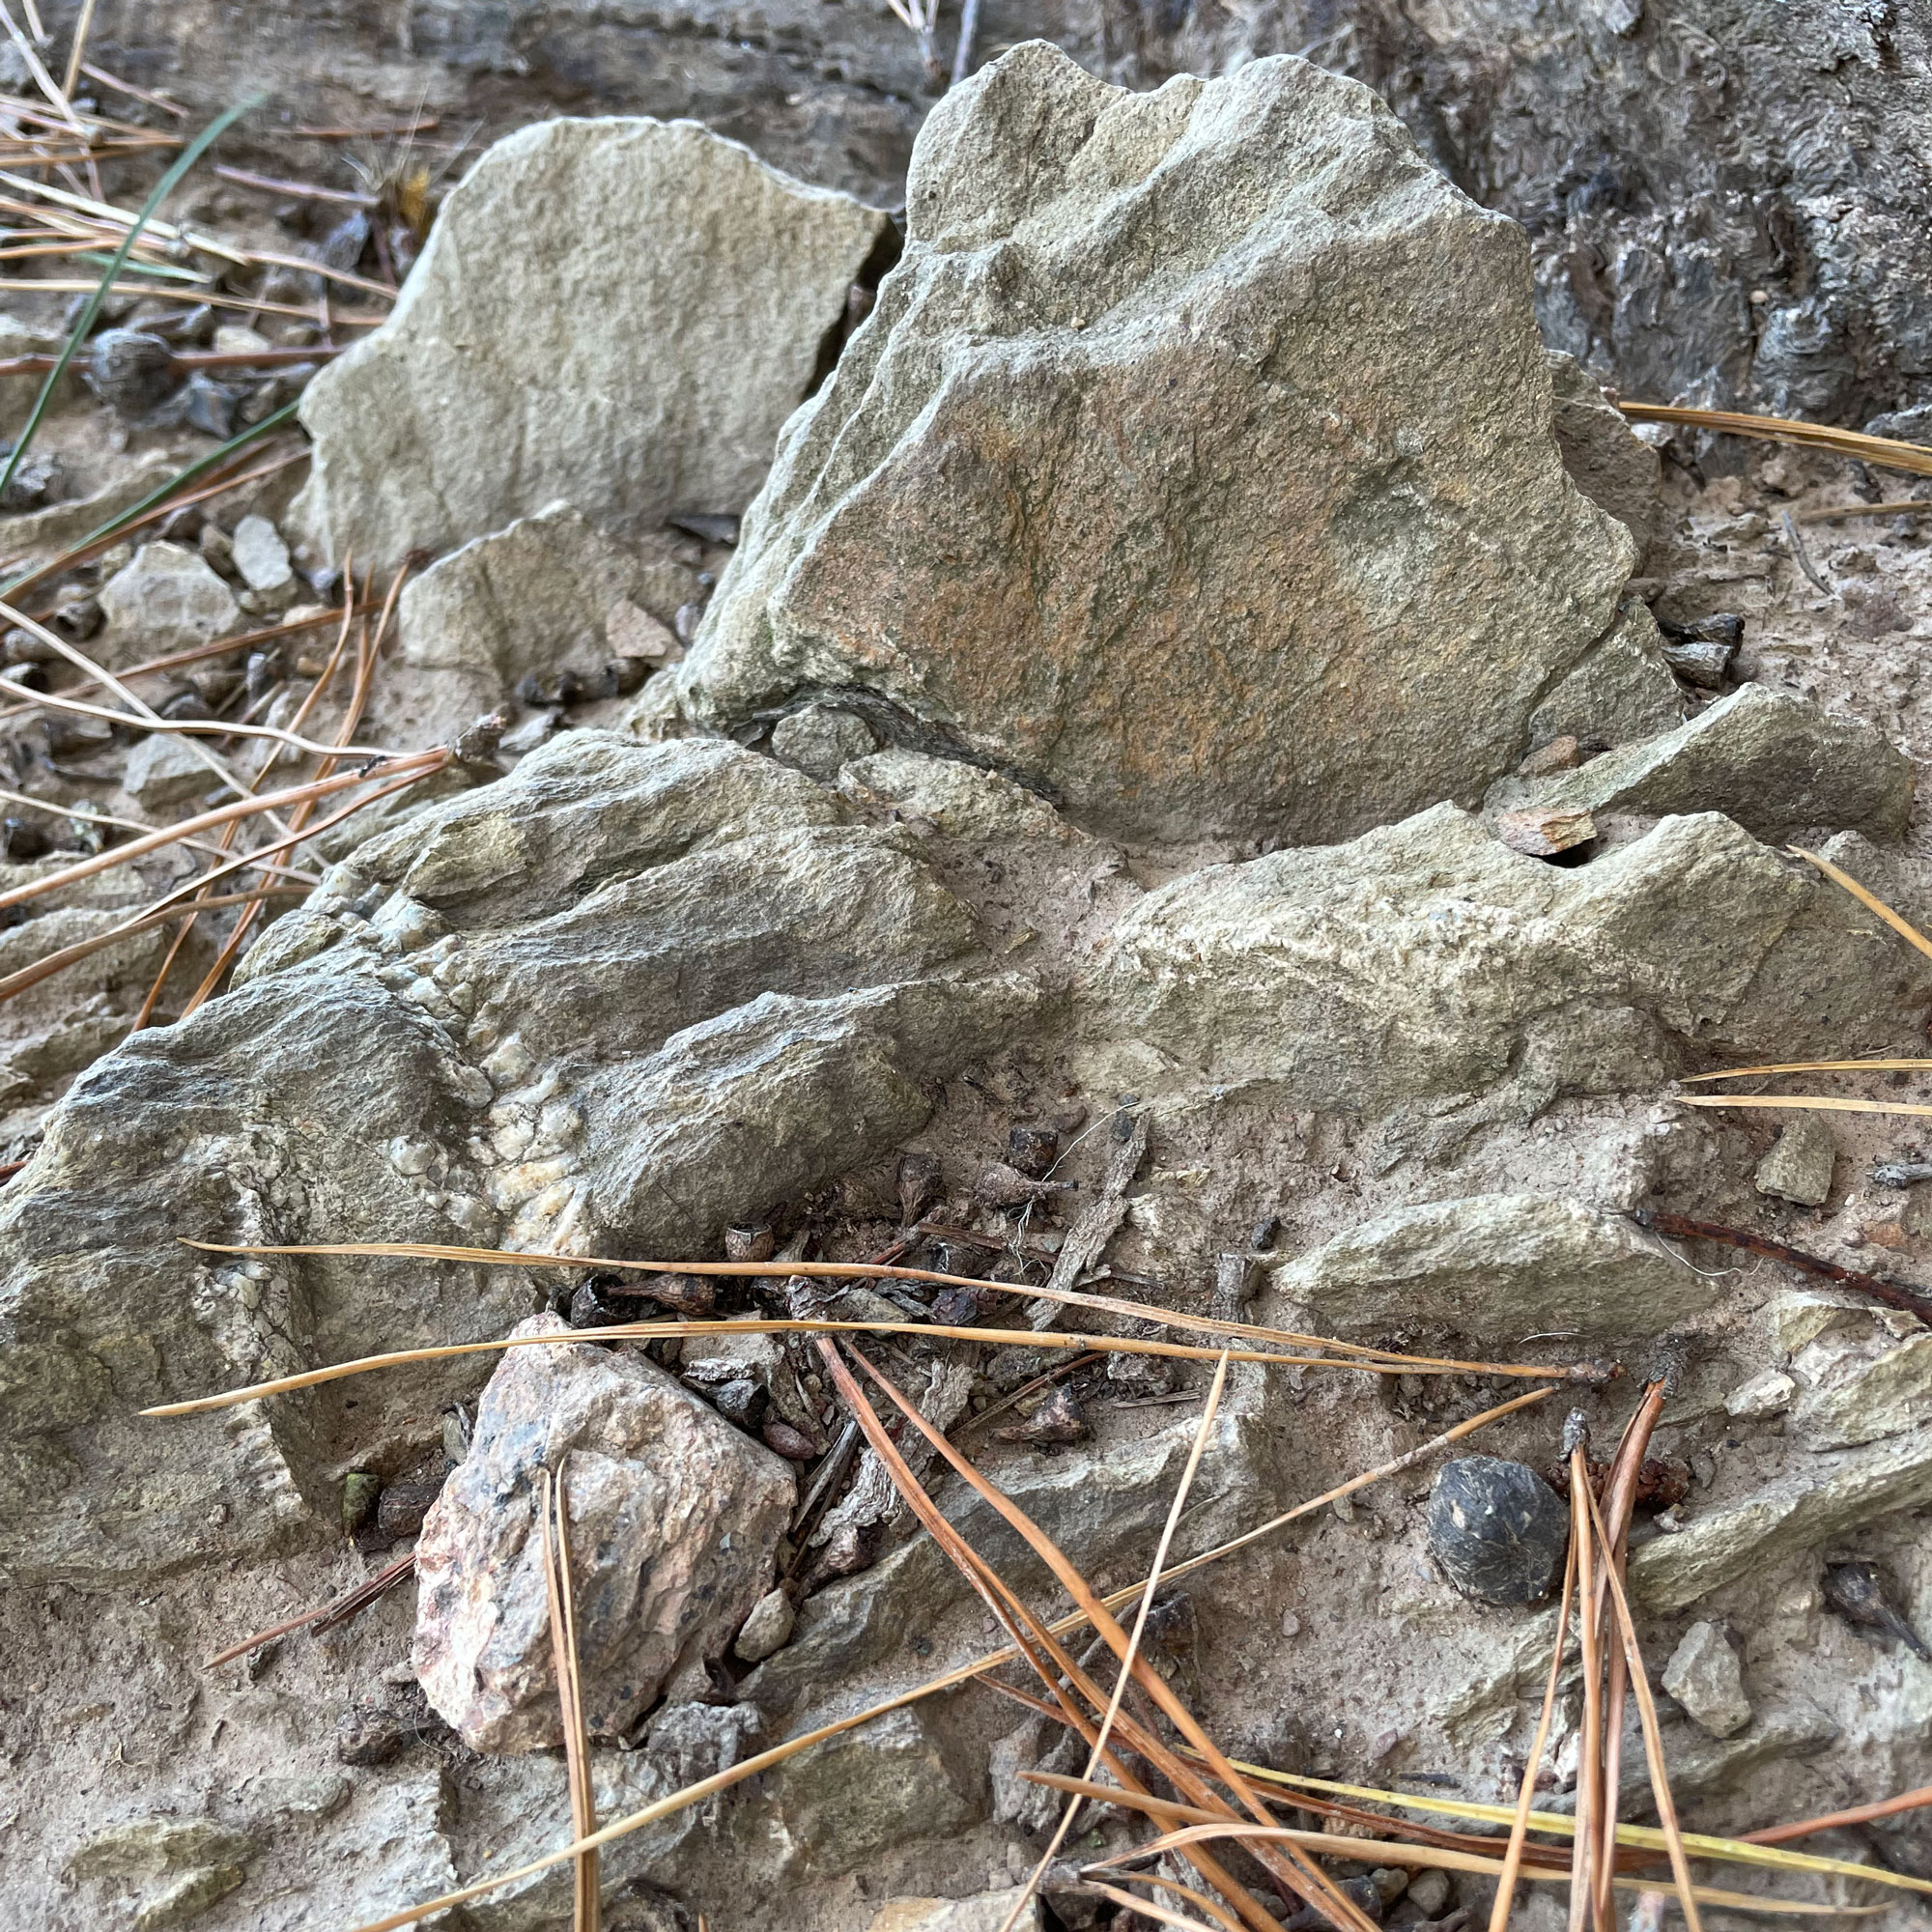
So to make earth pigments you need to start with earth – or rocks. Soft rocks are easier to grind down into pigment. A soft rock leaves some colour behind when it’s scraped it against a hard surface (brick, concrete, or other, harder rocks).
I went foraging for soft rocks out at the farm. There’s a lot of yellow/orange coloured rock there, but I also found some slate gray and some red as well.
Colour sorting
After giving the rocks a rinse with water, I left them out in the sun to dry. It was raining the day I picked up this first batch of rocks, and the colours were less intense after the rocks had dried, which made it harder to distinguish between colours.
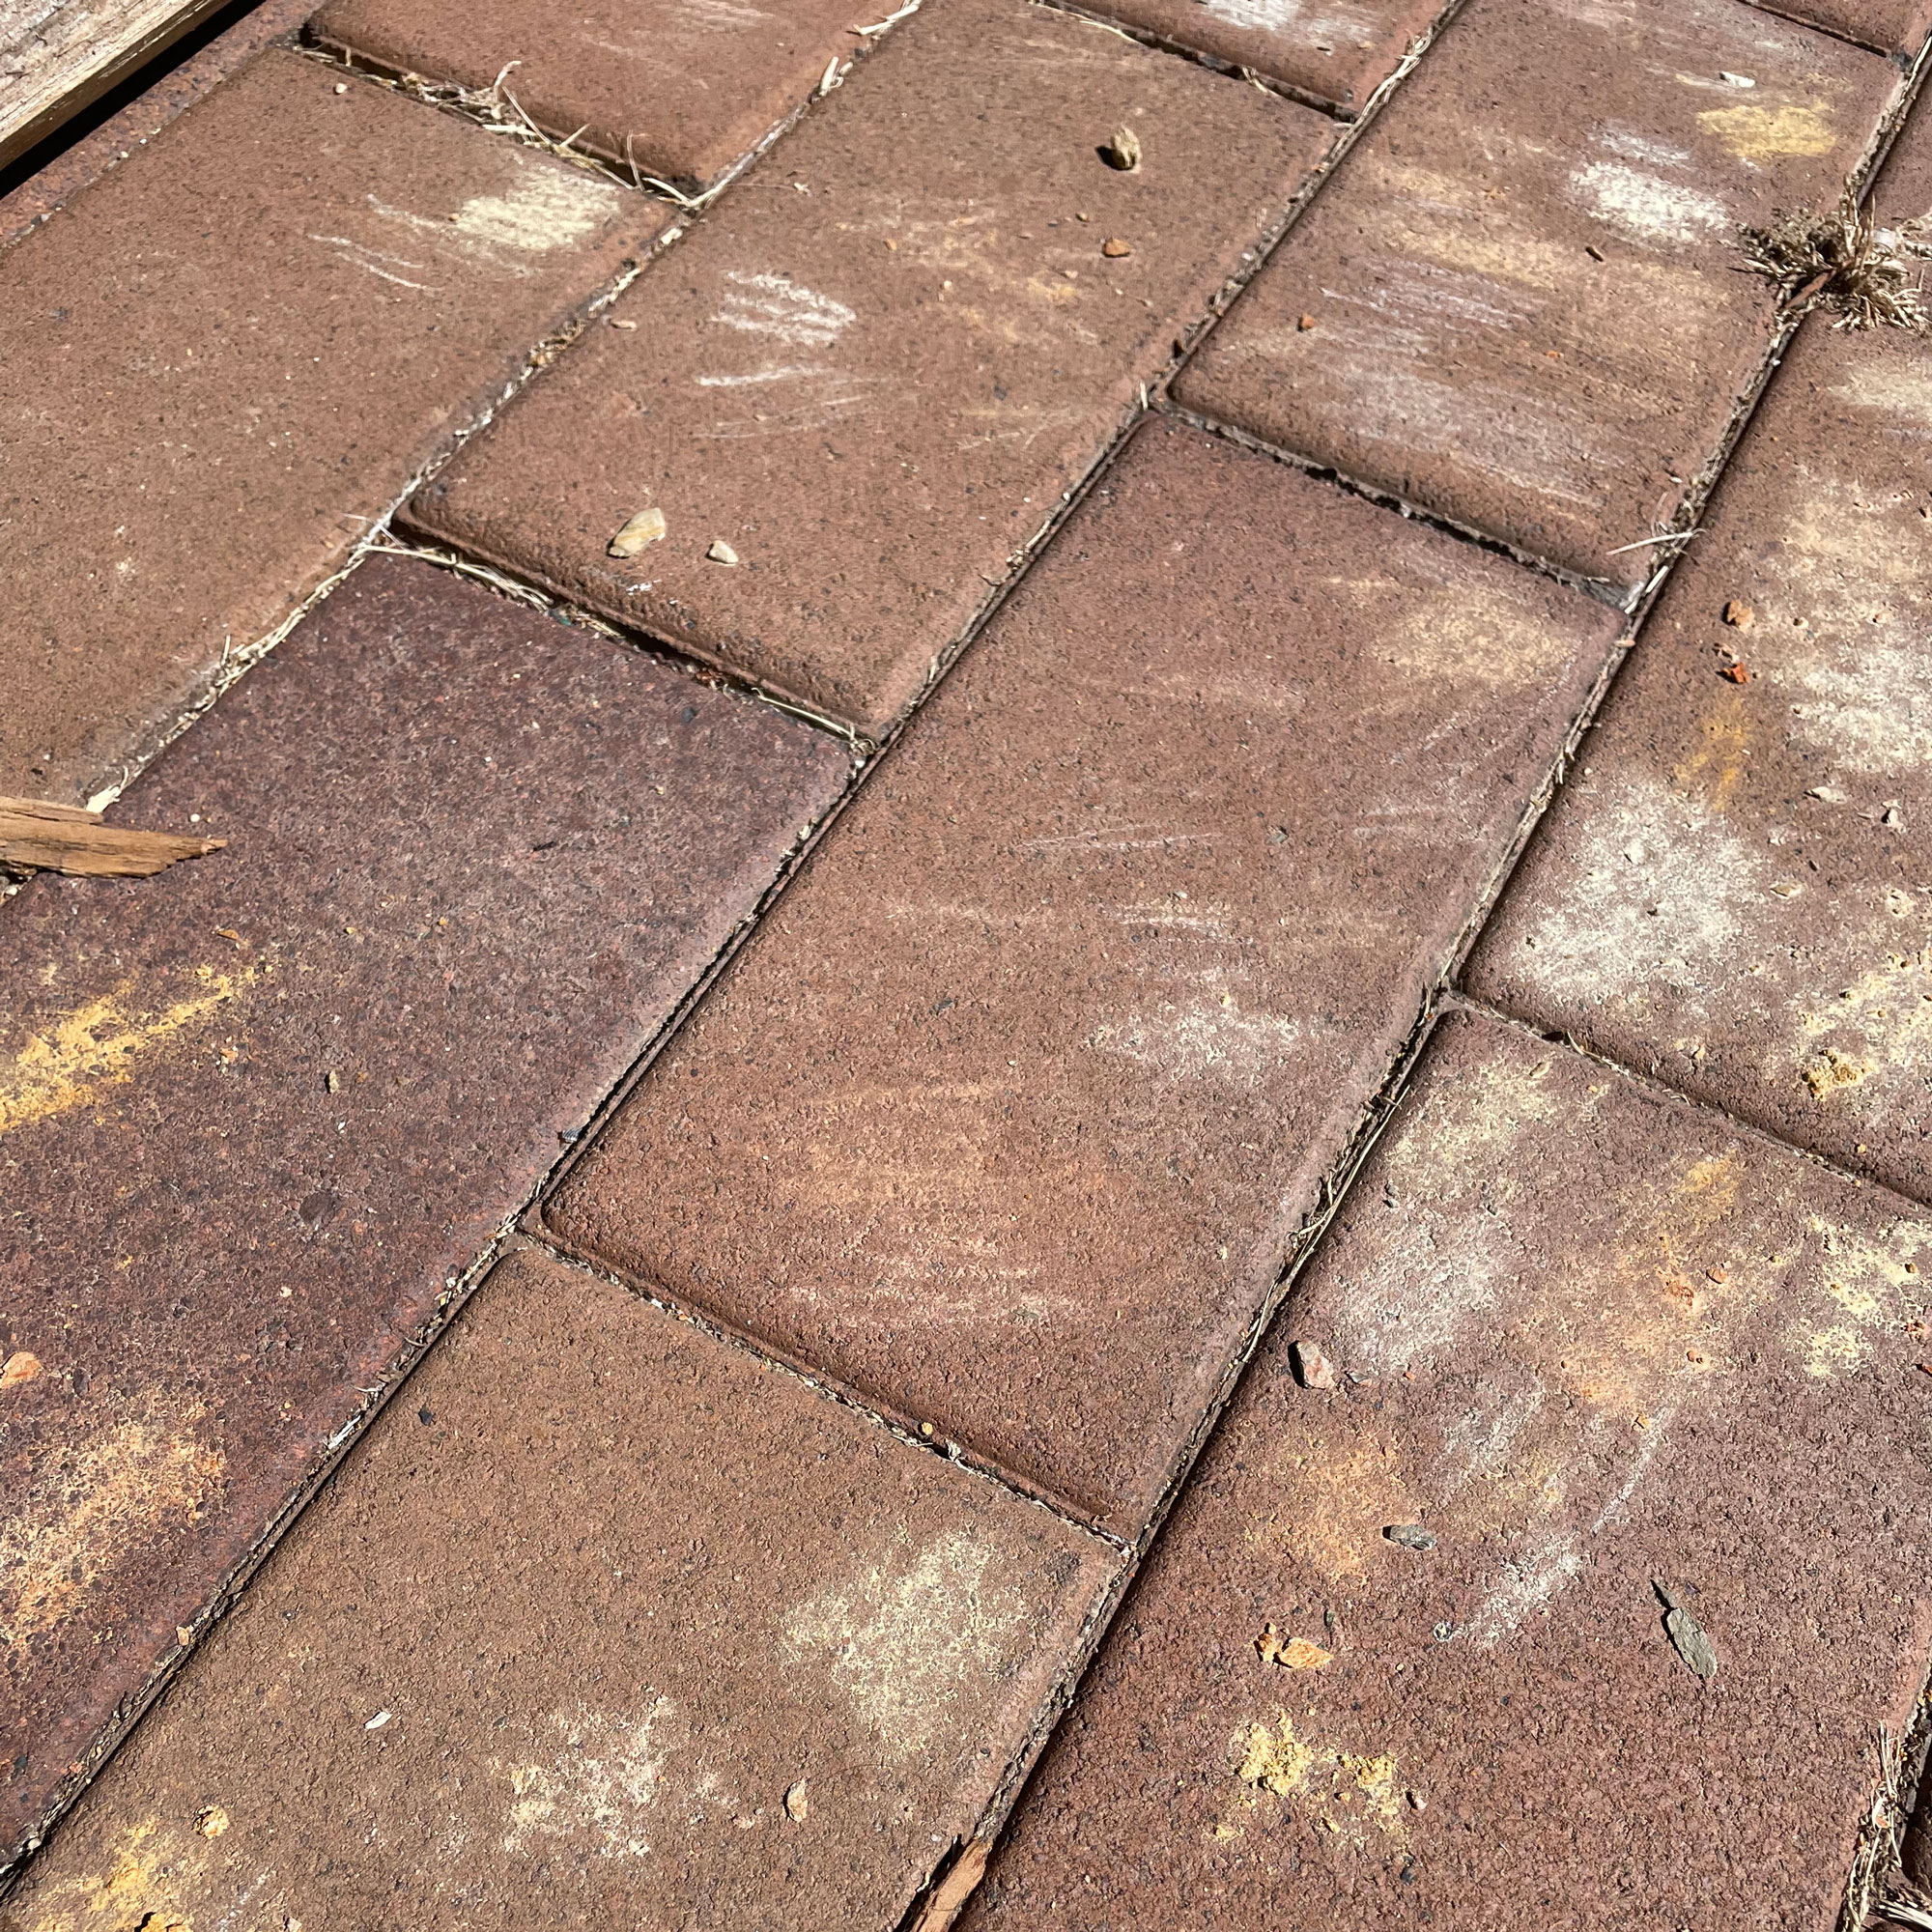
I used the bricks out on our patio to test the different colours of each rock, as well as check it was soft enough. The plan here was that I would group similar colours together, but every rock was slightly different.
Breaking and grinding rocks
I broke up the rocks using a mortar and pestle that I bought specifically for this project. I had one already, but wanted a new one specifically for art purposes, and found one at Kmart for $14.
Because all the rocks were soft and small, they were pretty easy to break up and grind using just the mortar and pestle. For some of the larger rocks I have, I’ll probably have to break them up with a hammer first.
I started off by breaking up groups of small rocks in a similar colour. In hindsight, using one larger rock was a better option, as the small ones kind of homogenised into a generic ochre colour. Which would be fine for one final paint colour, but I don’t want everything to look the same. My yet-to-be-confirmed theory is that by using one large rock I’ll get a better colour result. At the very least, I can keep a small sample of the original rock for comparison with the final product.
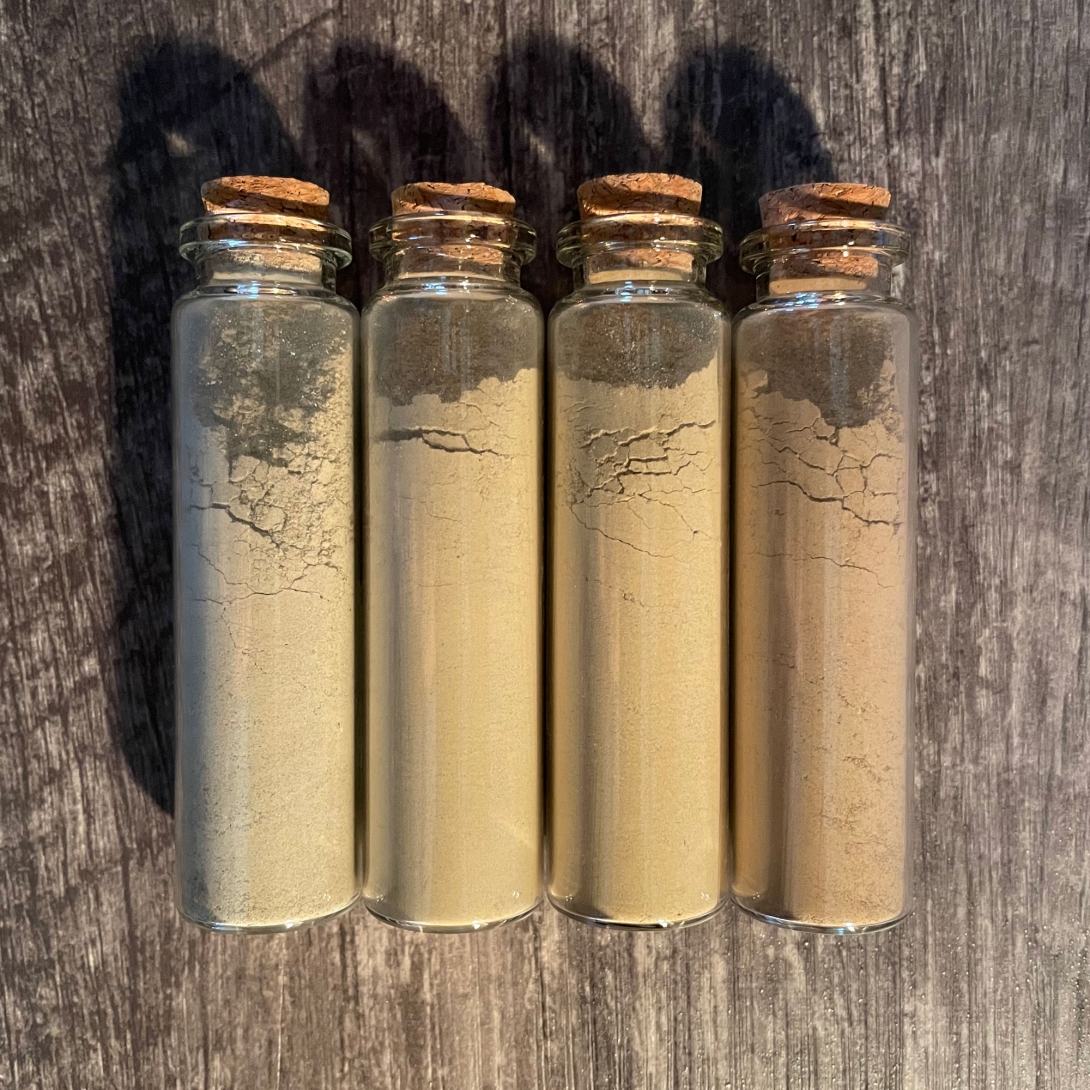
After I had crushed my rocks up into a fine powder, I put them into some pretty glass bottles with little corks. I lined them up in chromatic order and admired my work.
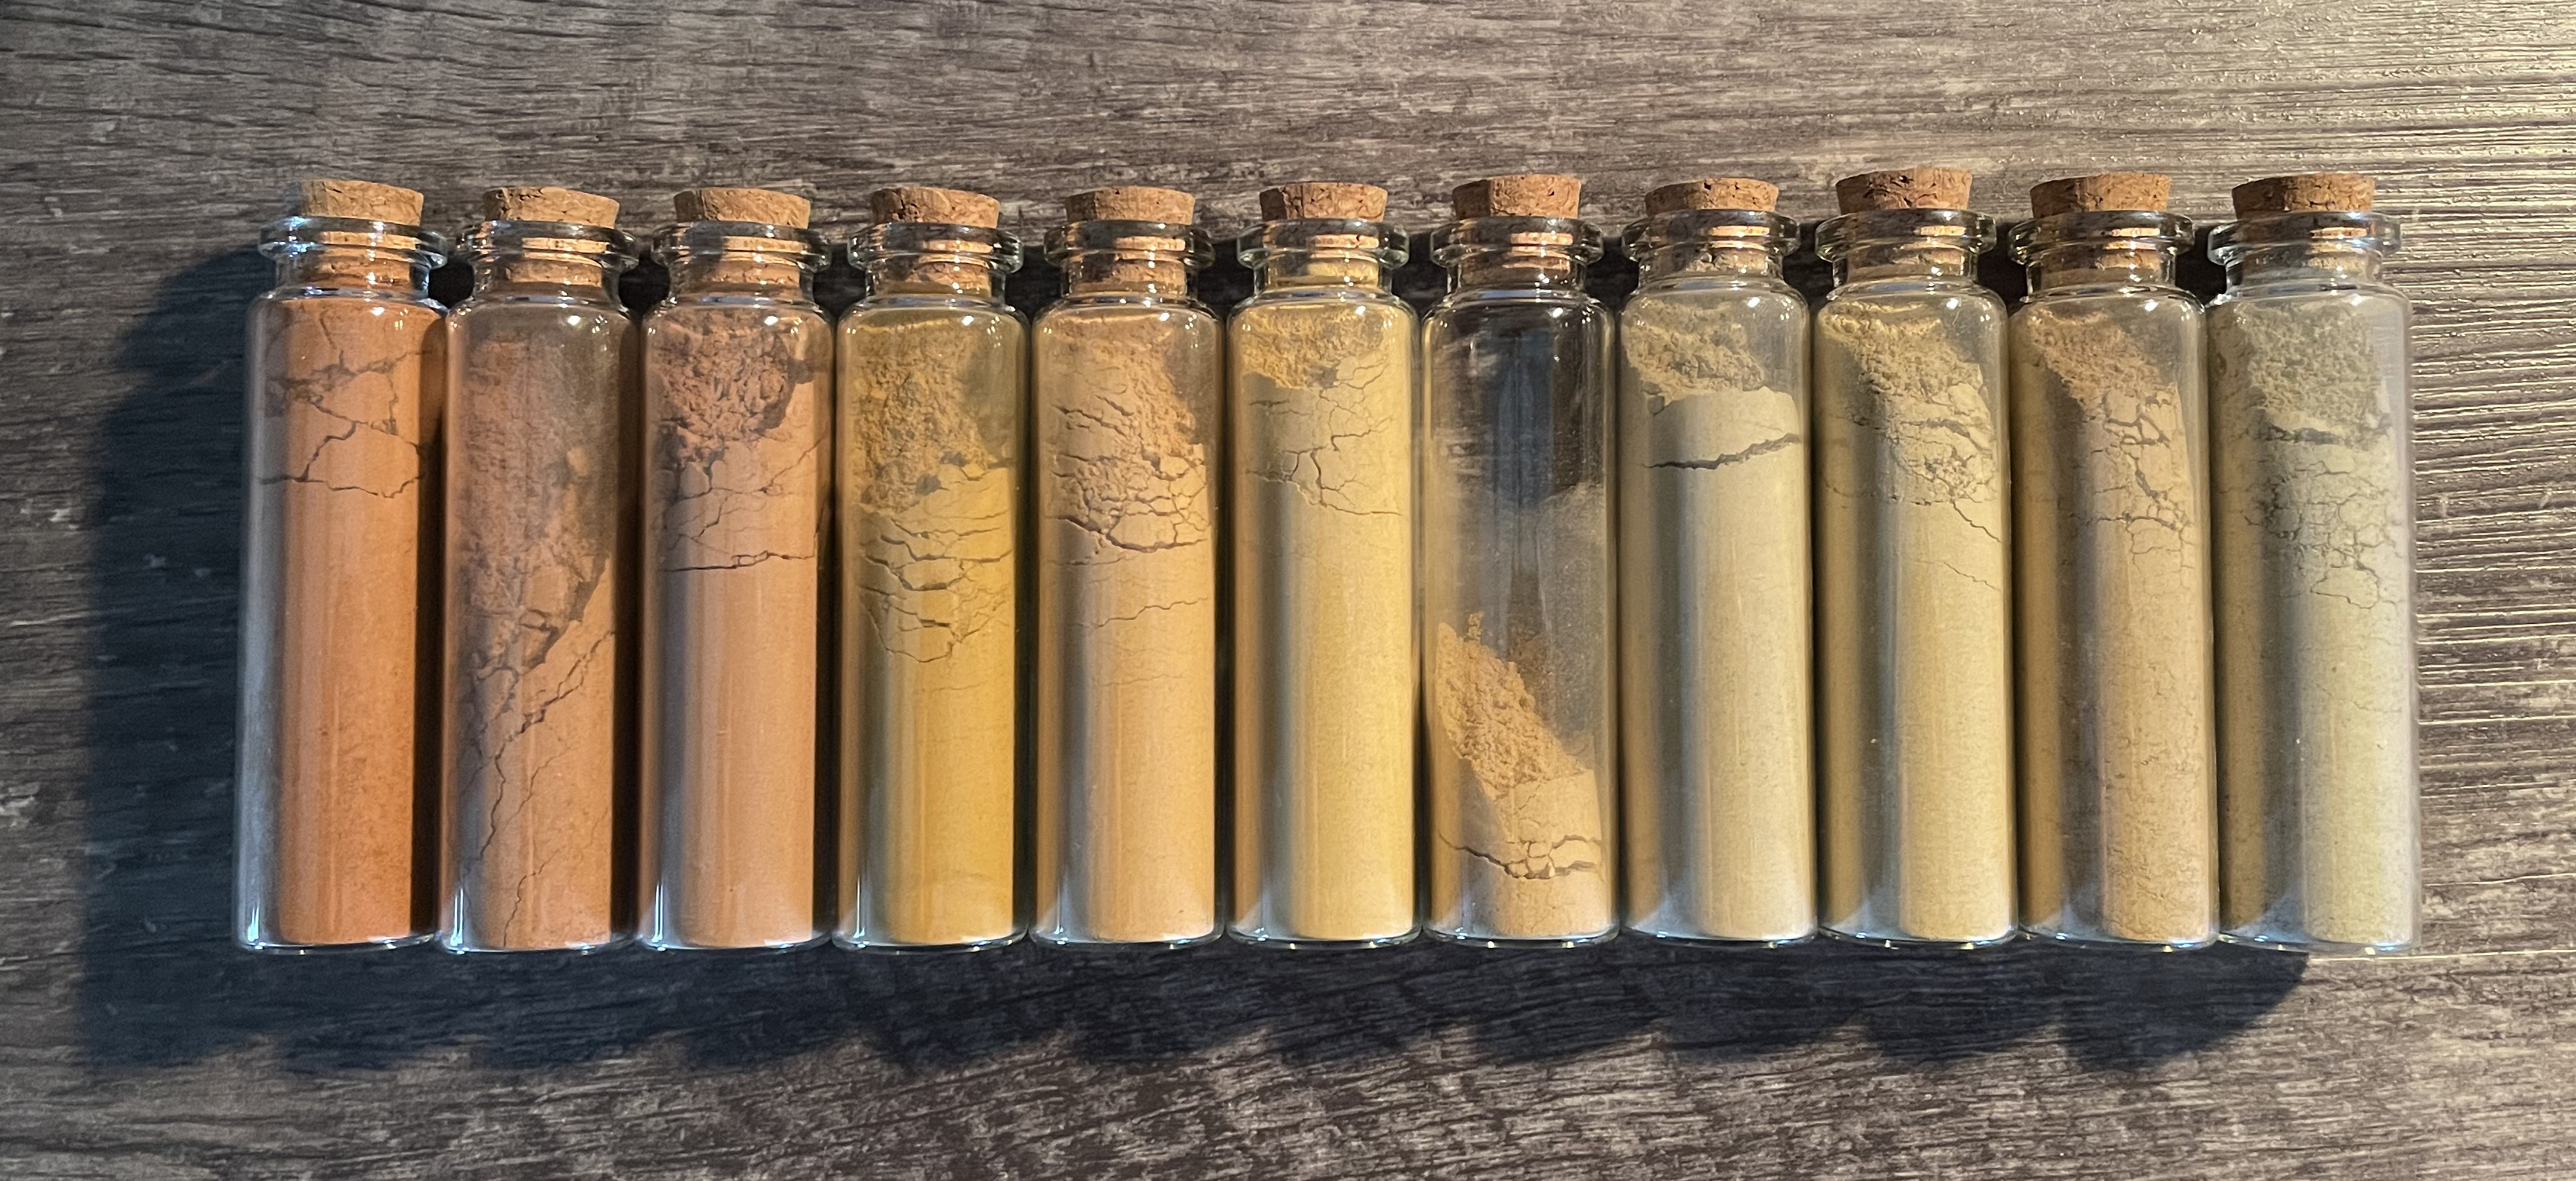
There’s a surprising amount of variation in colour at this stage. Grey, yellow, pink, red. I wonder if they will be different when they are made into paint?
I had quite a lot of rocks gathered, and I ran out of nice bottles so had to use some ugly plastic takeaway sauce pots instead. But you know: Improvise. Adapt. Overcome. They don’t make for such a nice photo but they do the job of containing crushed rocks just fine.
Filtering the pigment
I got to this stage and realised I had no idea what to actually do next. So I looked up this excellent video from The Alchemical Arts on processing ochre pigments, and used it as a (loose) guide.
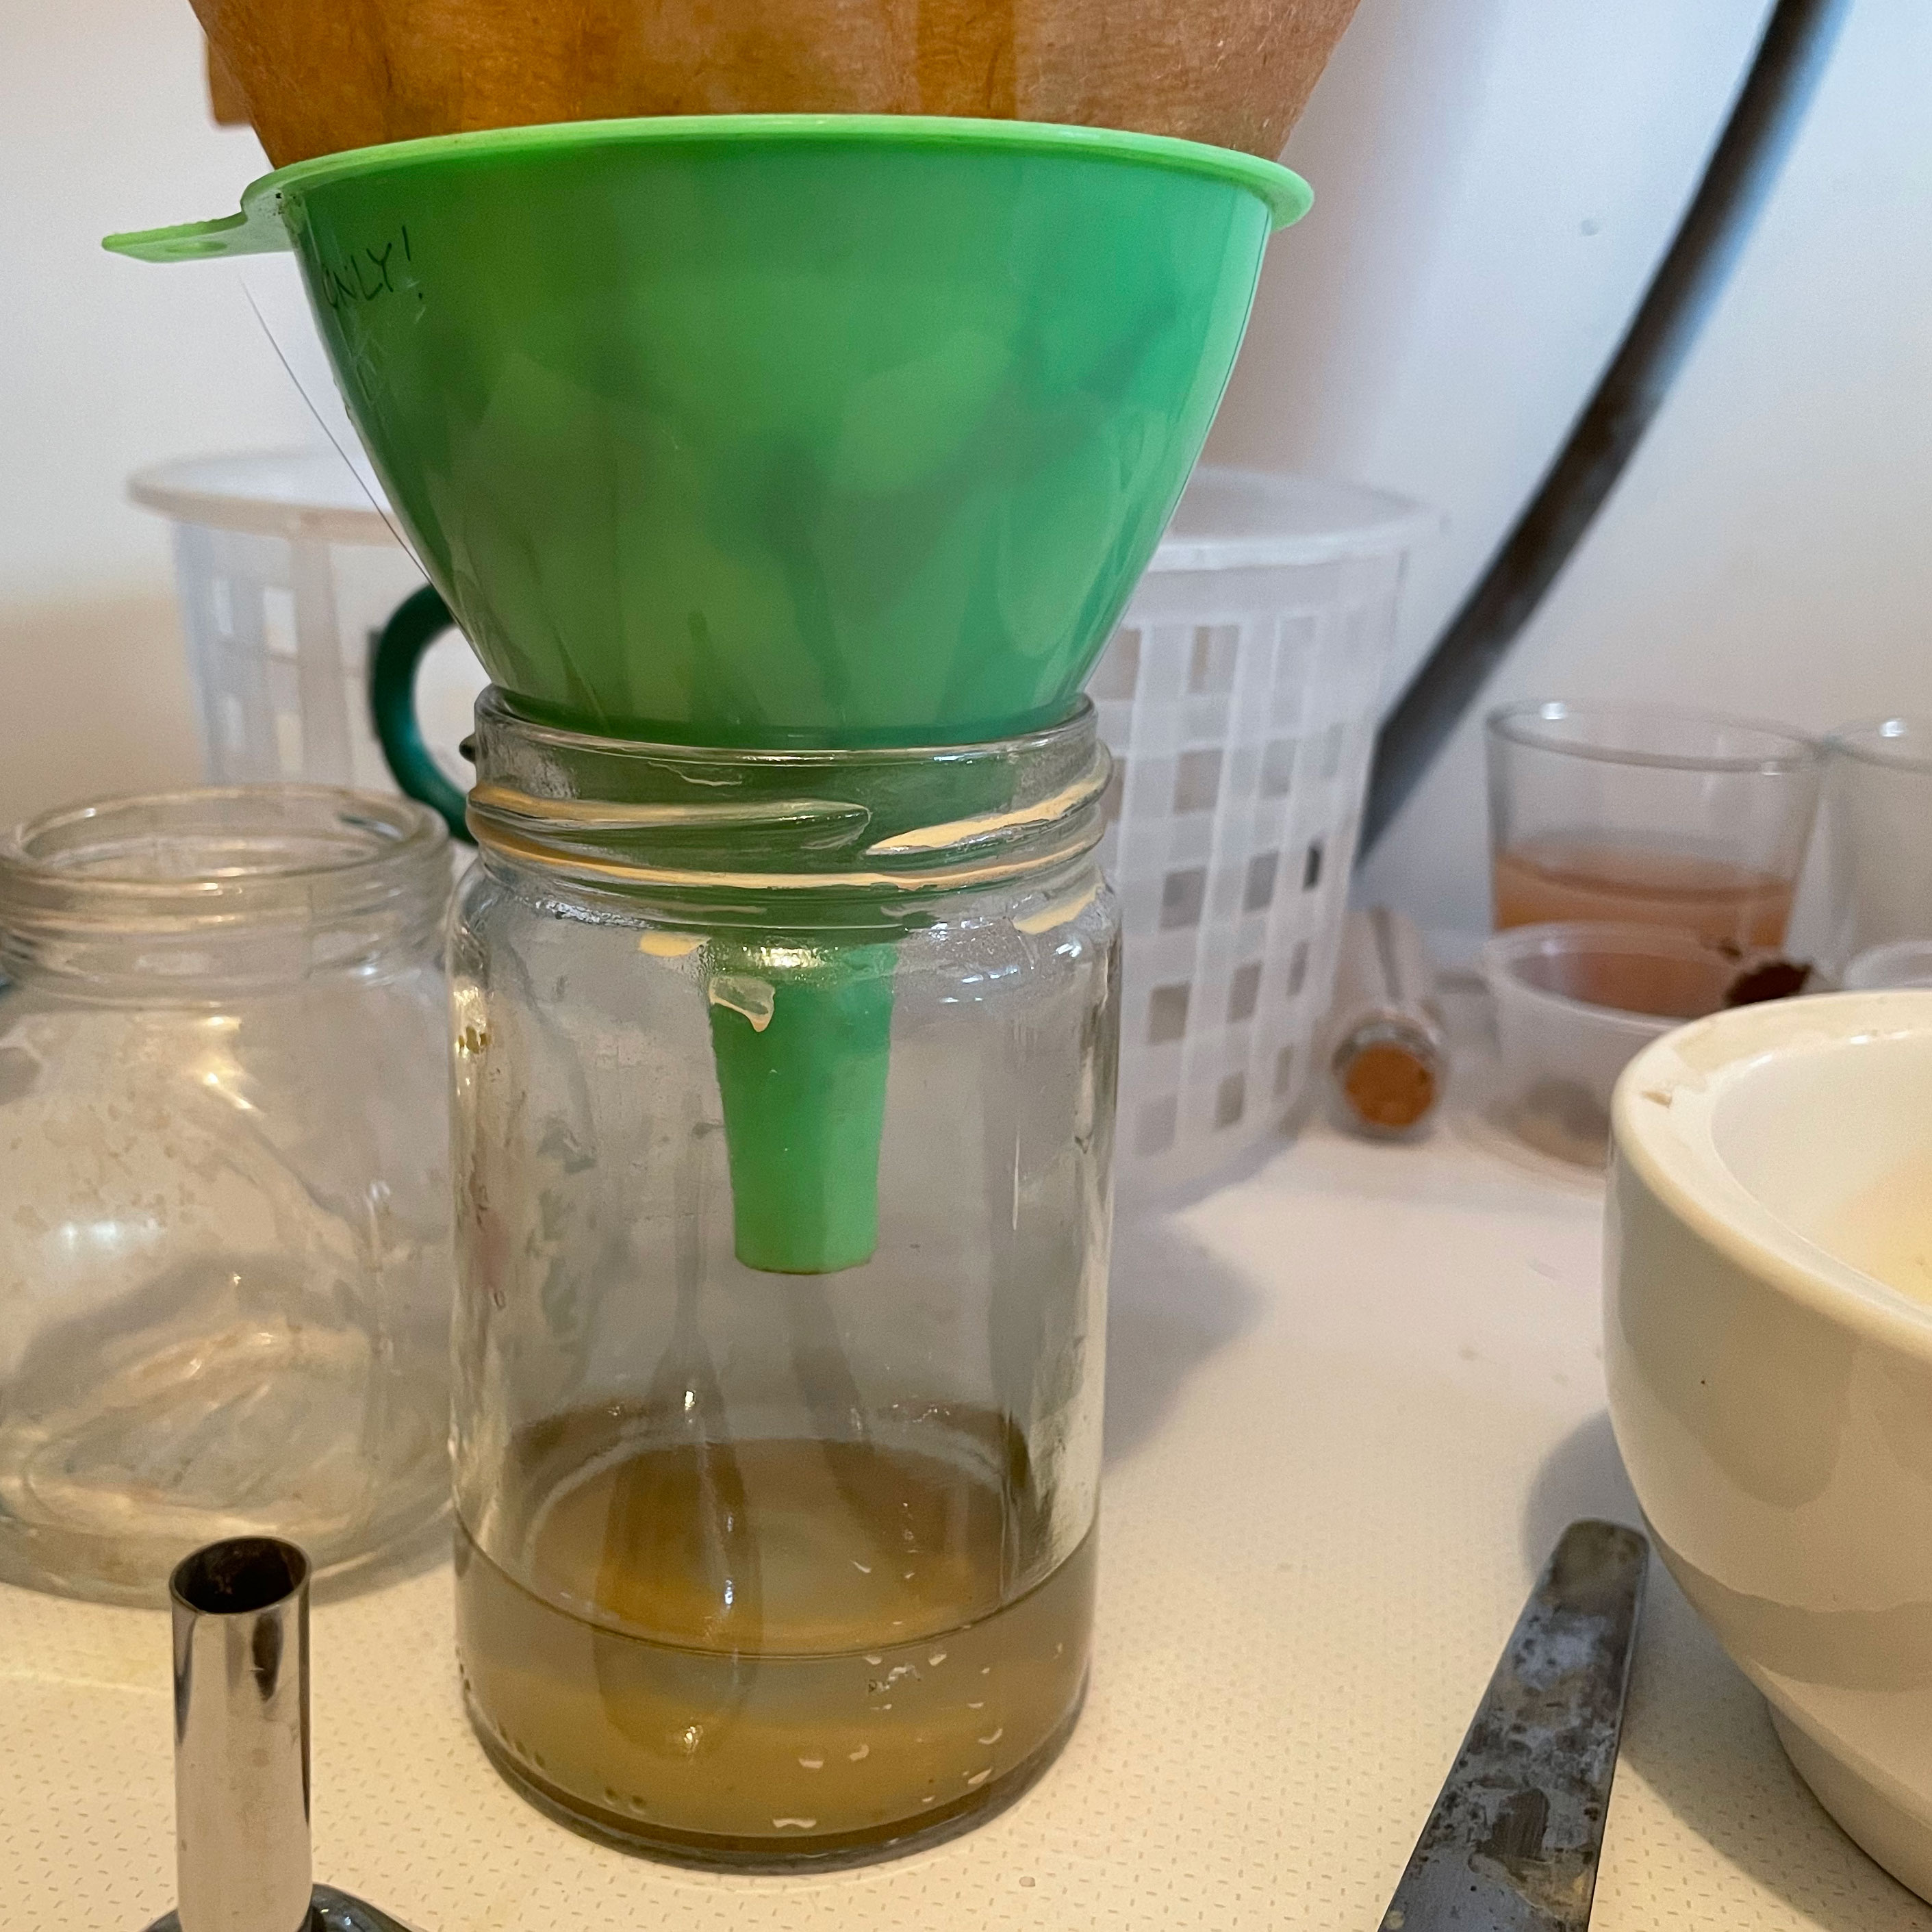
The general idea is: put the ground up rock into a glass beaker with some water, give it a good stir. Wait for the heavier stuff to start to settle at the bottom. Carefully pour most of the water off the top into a second beaker, leaving the sludgy mud behind. Repeat into another beaker. Then strain it all through a filter, let it dry. Boom. Pigment.
I don’t have all the equipment used in the video, but am trying to make do with what’s on hand. For my beakers, I used a couple of glass shot glasses (which are usually used for rinsing brushes when I paint), and two random glass jars which were the only ones I could find here.
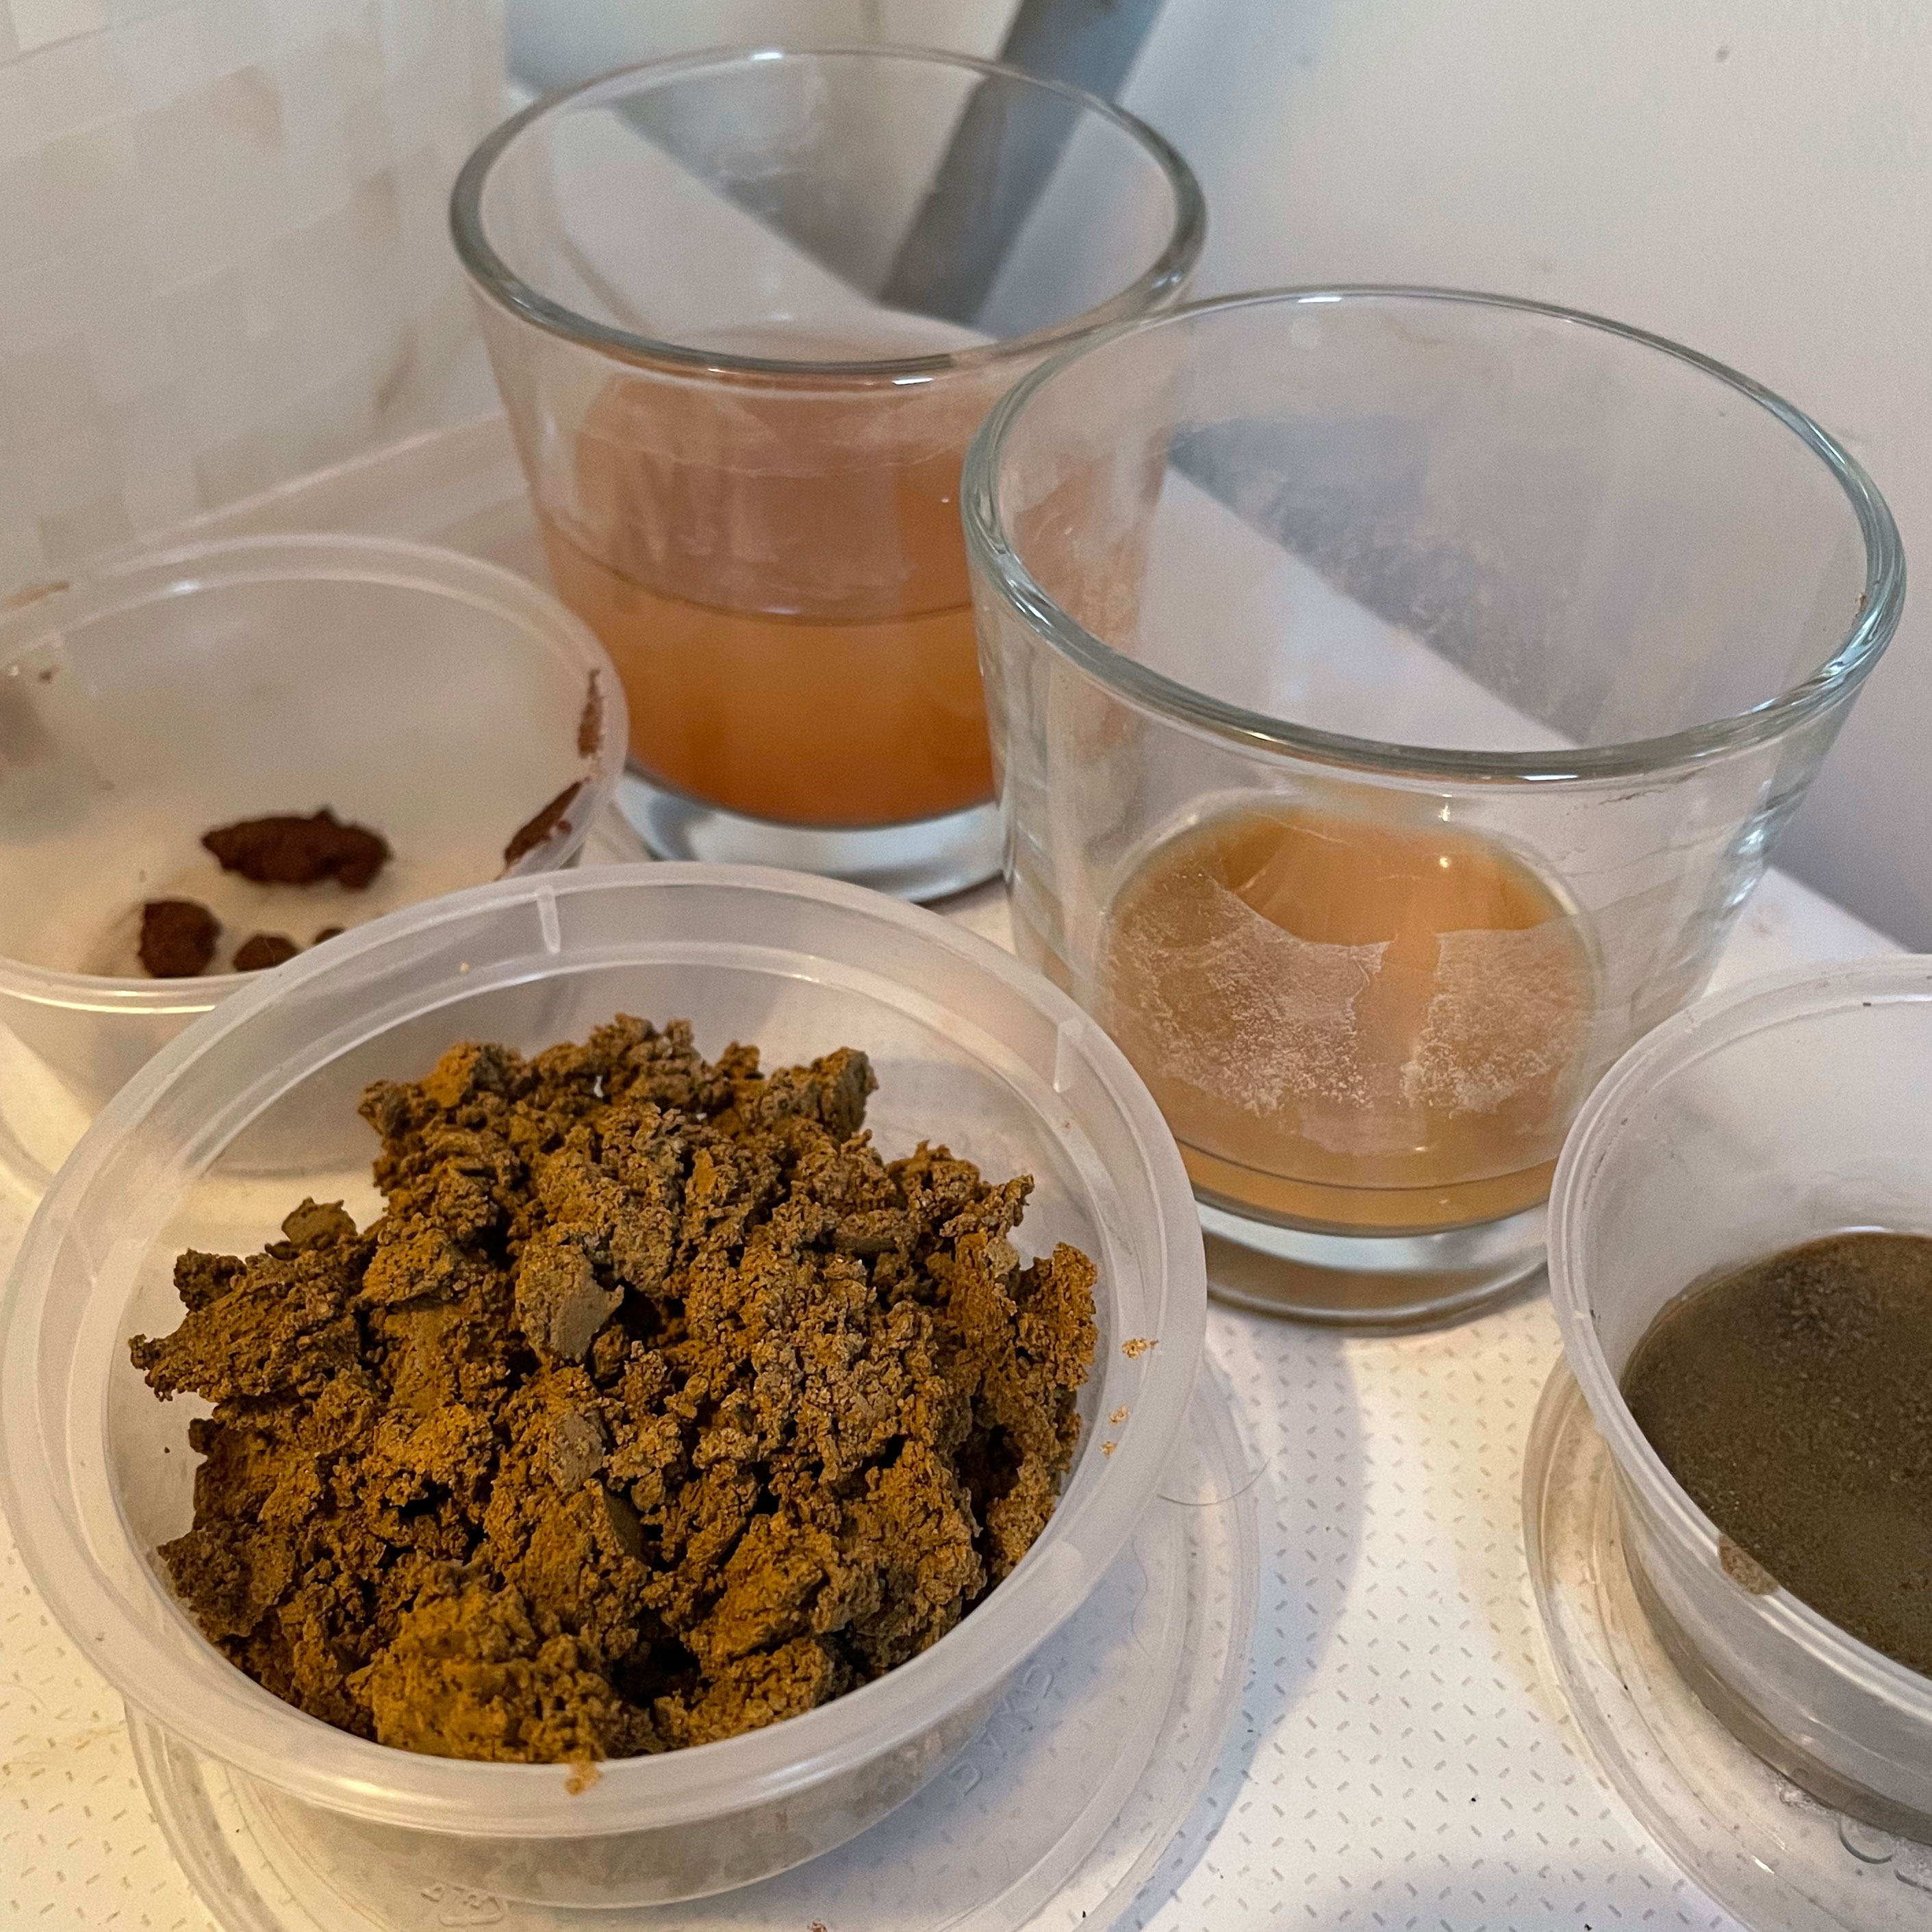
After levigating, there was still a lot of sediment left in my jars. All this effort and all I’ve made is mud.
Initially I used a piece of an old sheer curtain as a filter, however it didn’t seem to catch anything finer than sand-sized particles. You can see the sand in my plastic containers. Hopefully I can re-grind it down into a finer powder after it dries out.
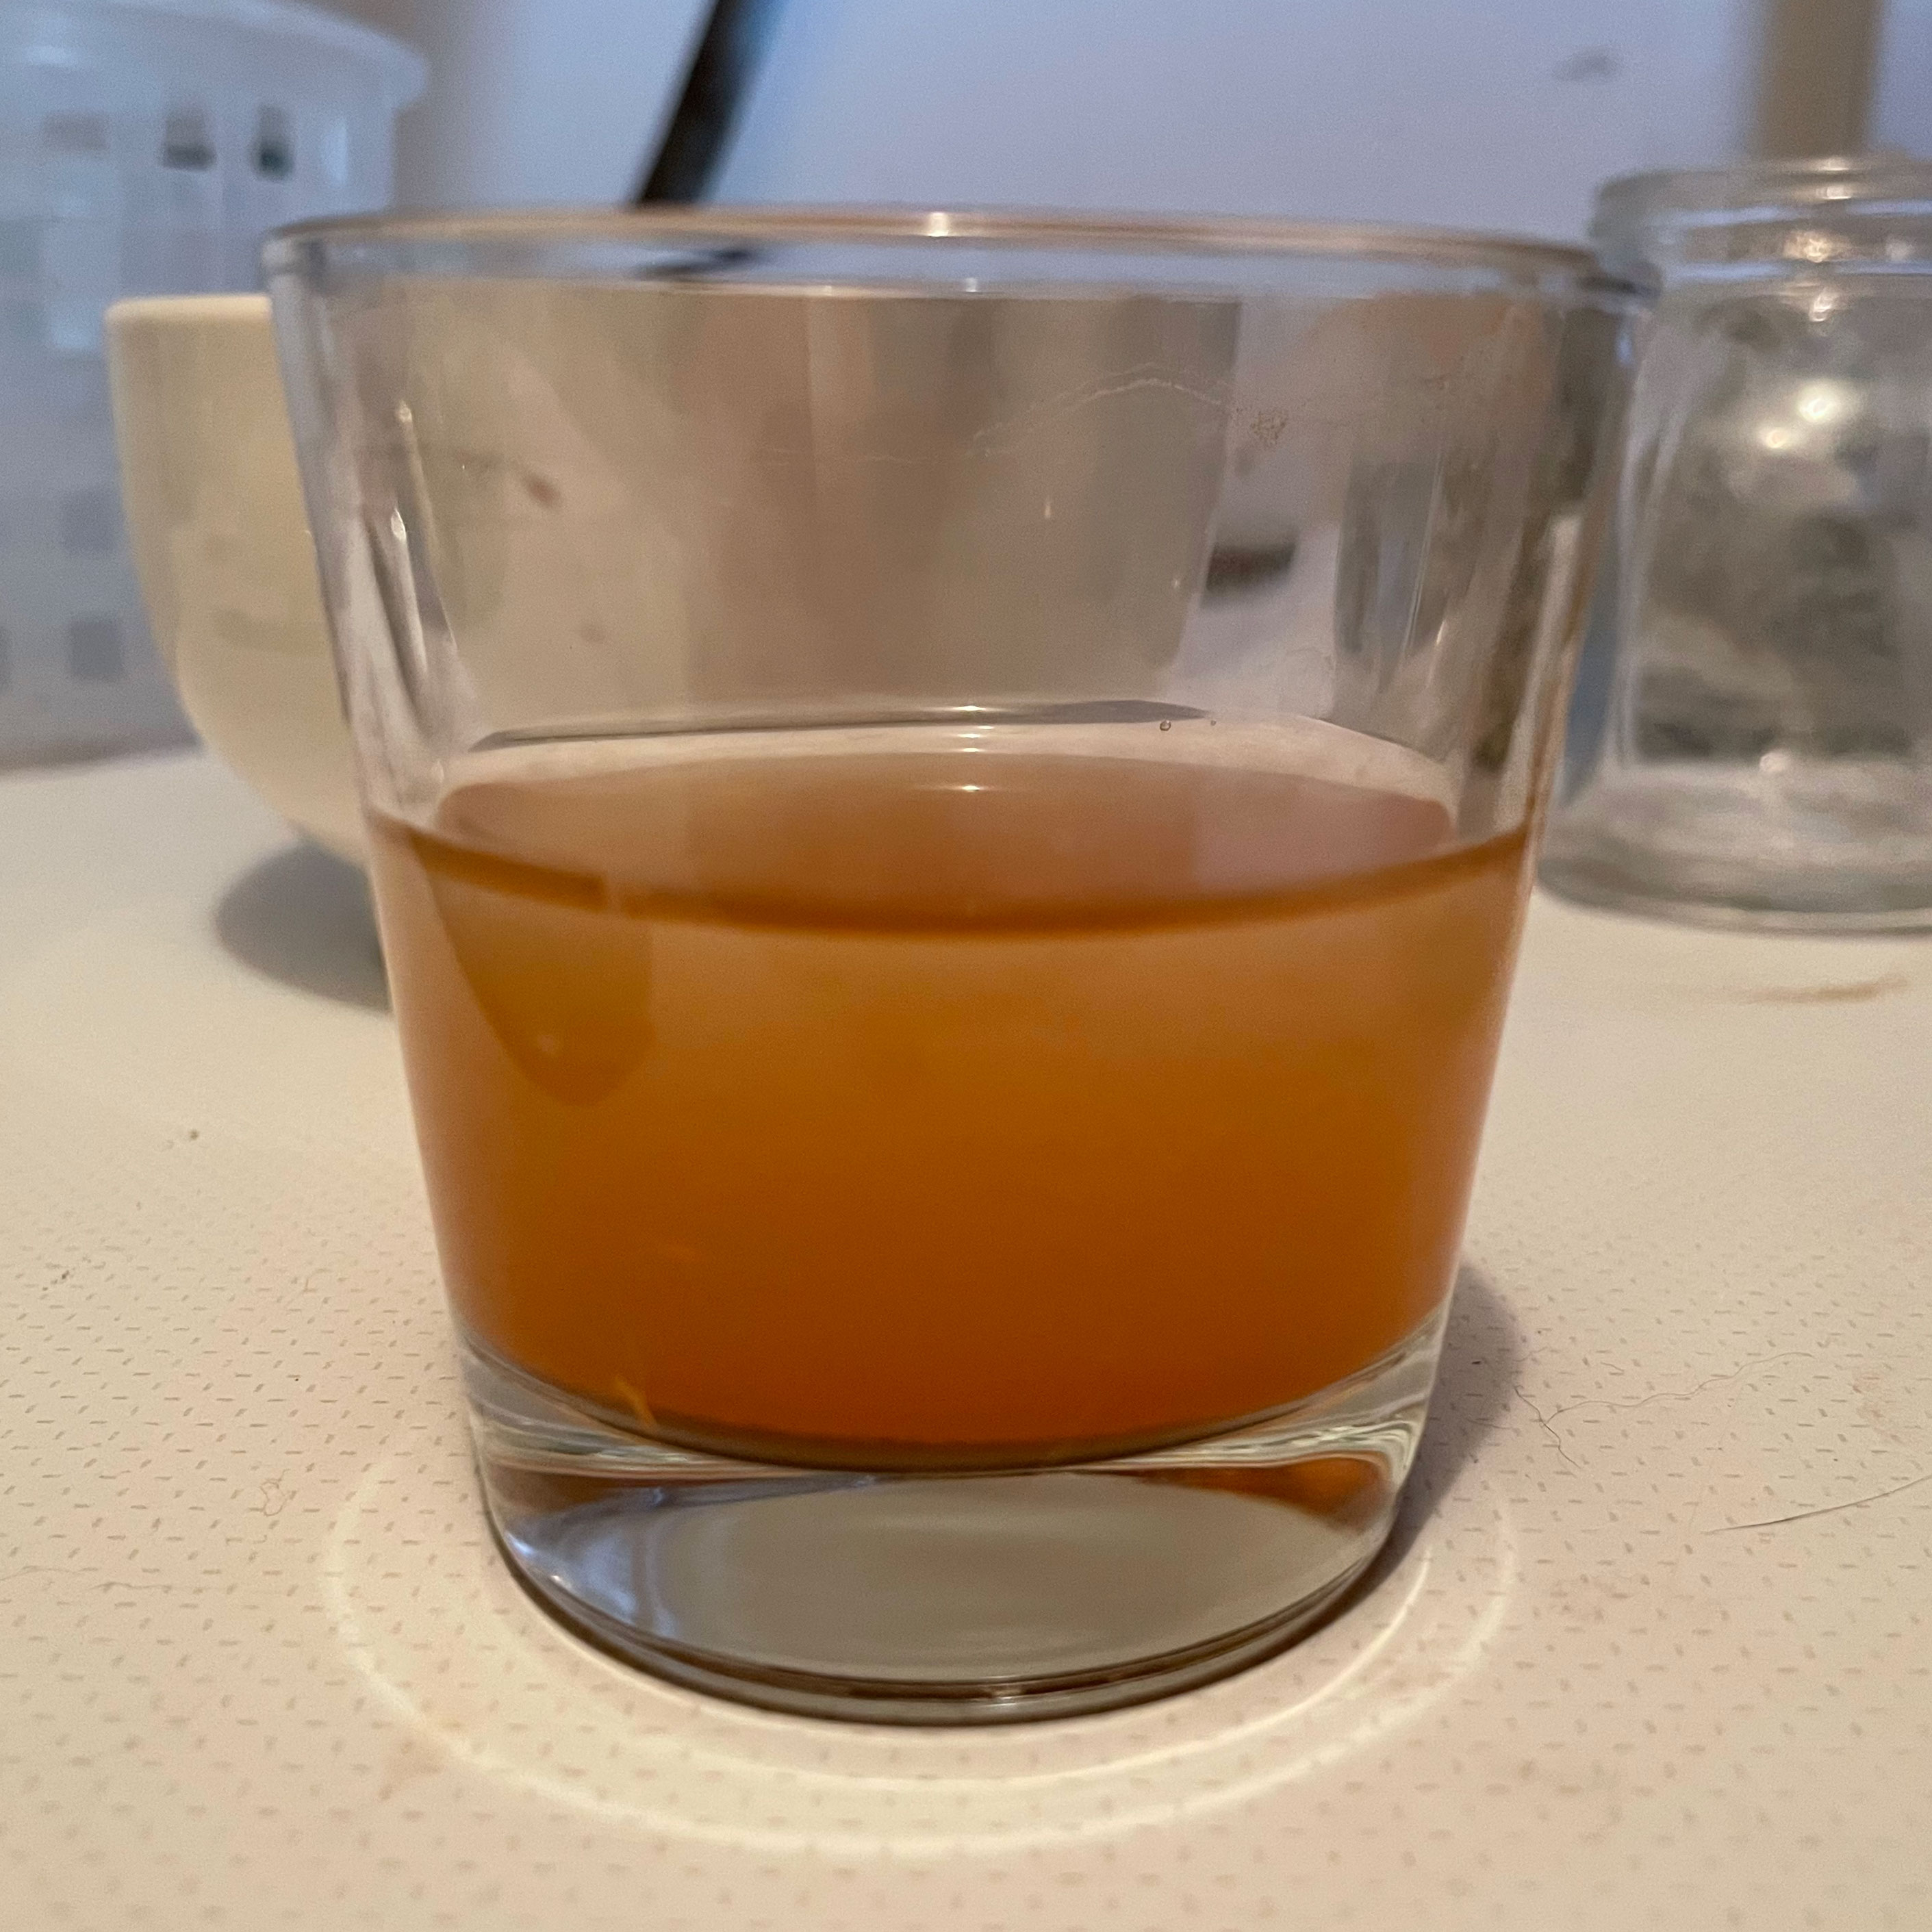
Then I tried some paper coffee filters, bought specially for this ($3, Woolies). These seemed to work better, but some of the pigment still came through. You can see it as a fine layer of sediment in the last image. In the Alchemical Arts video the water comes out clear.
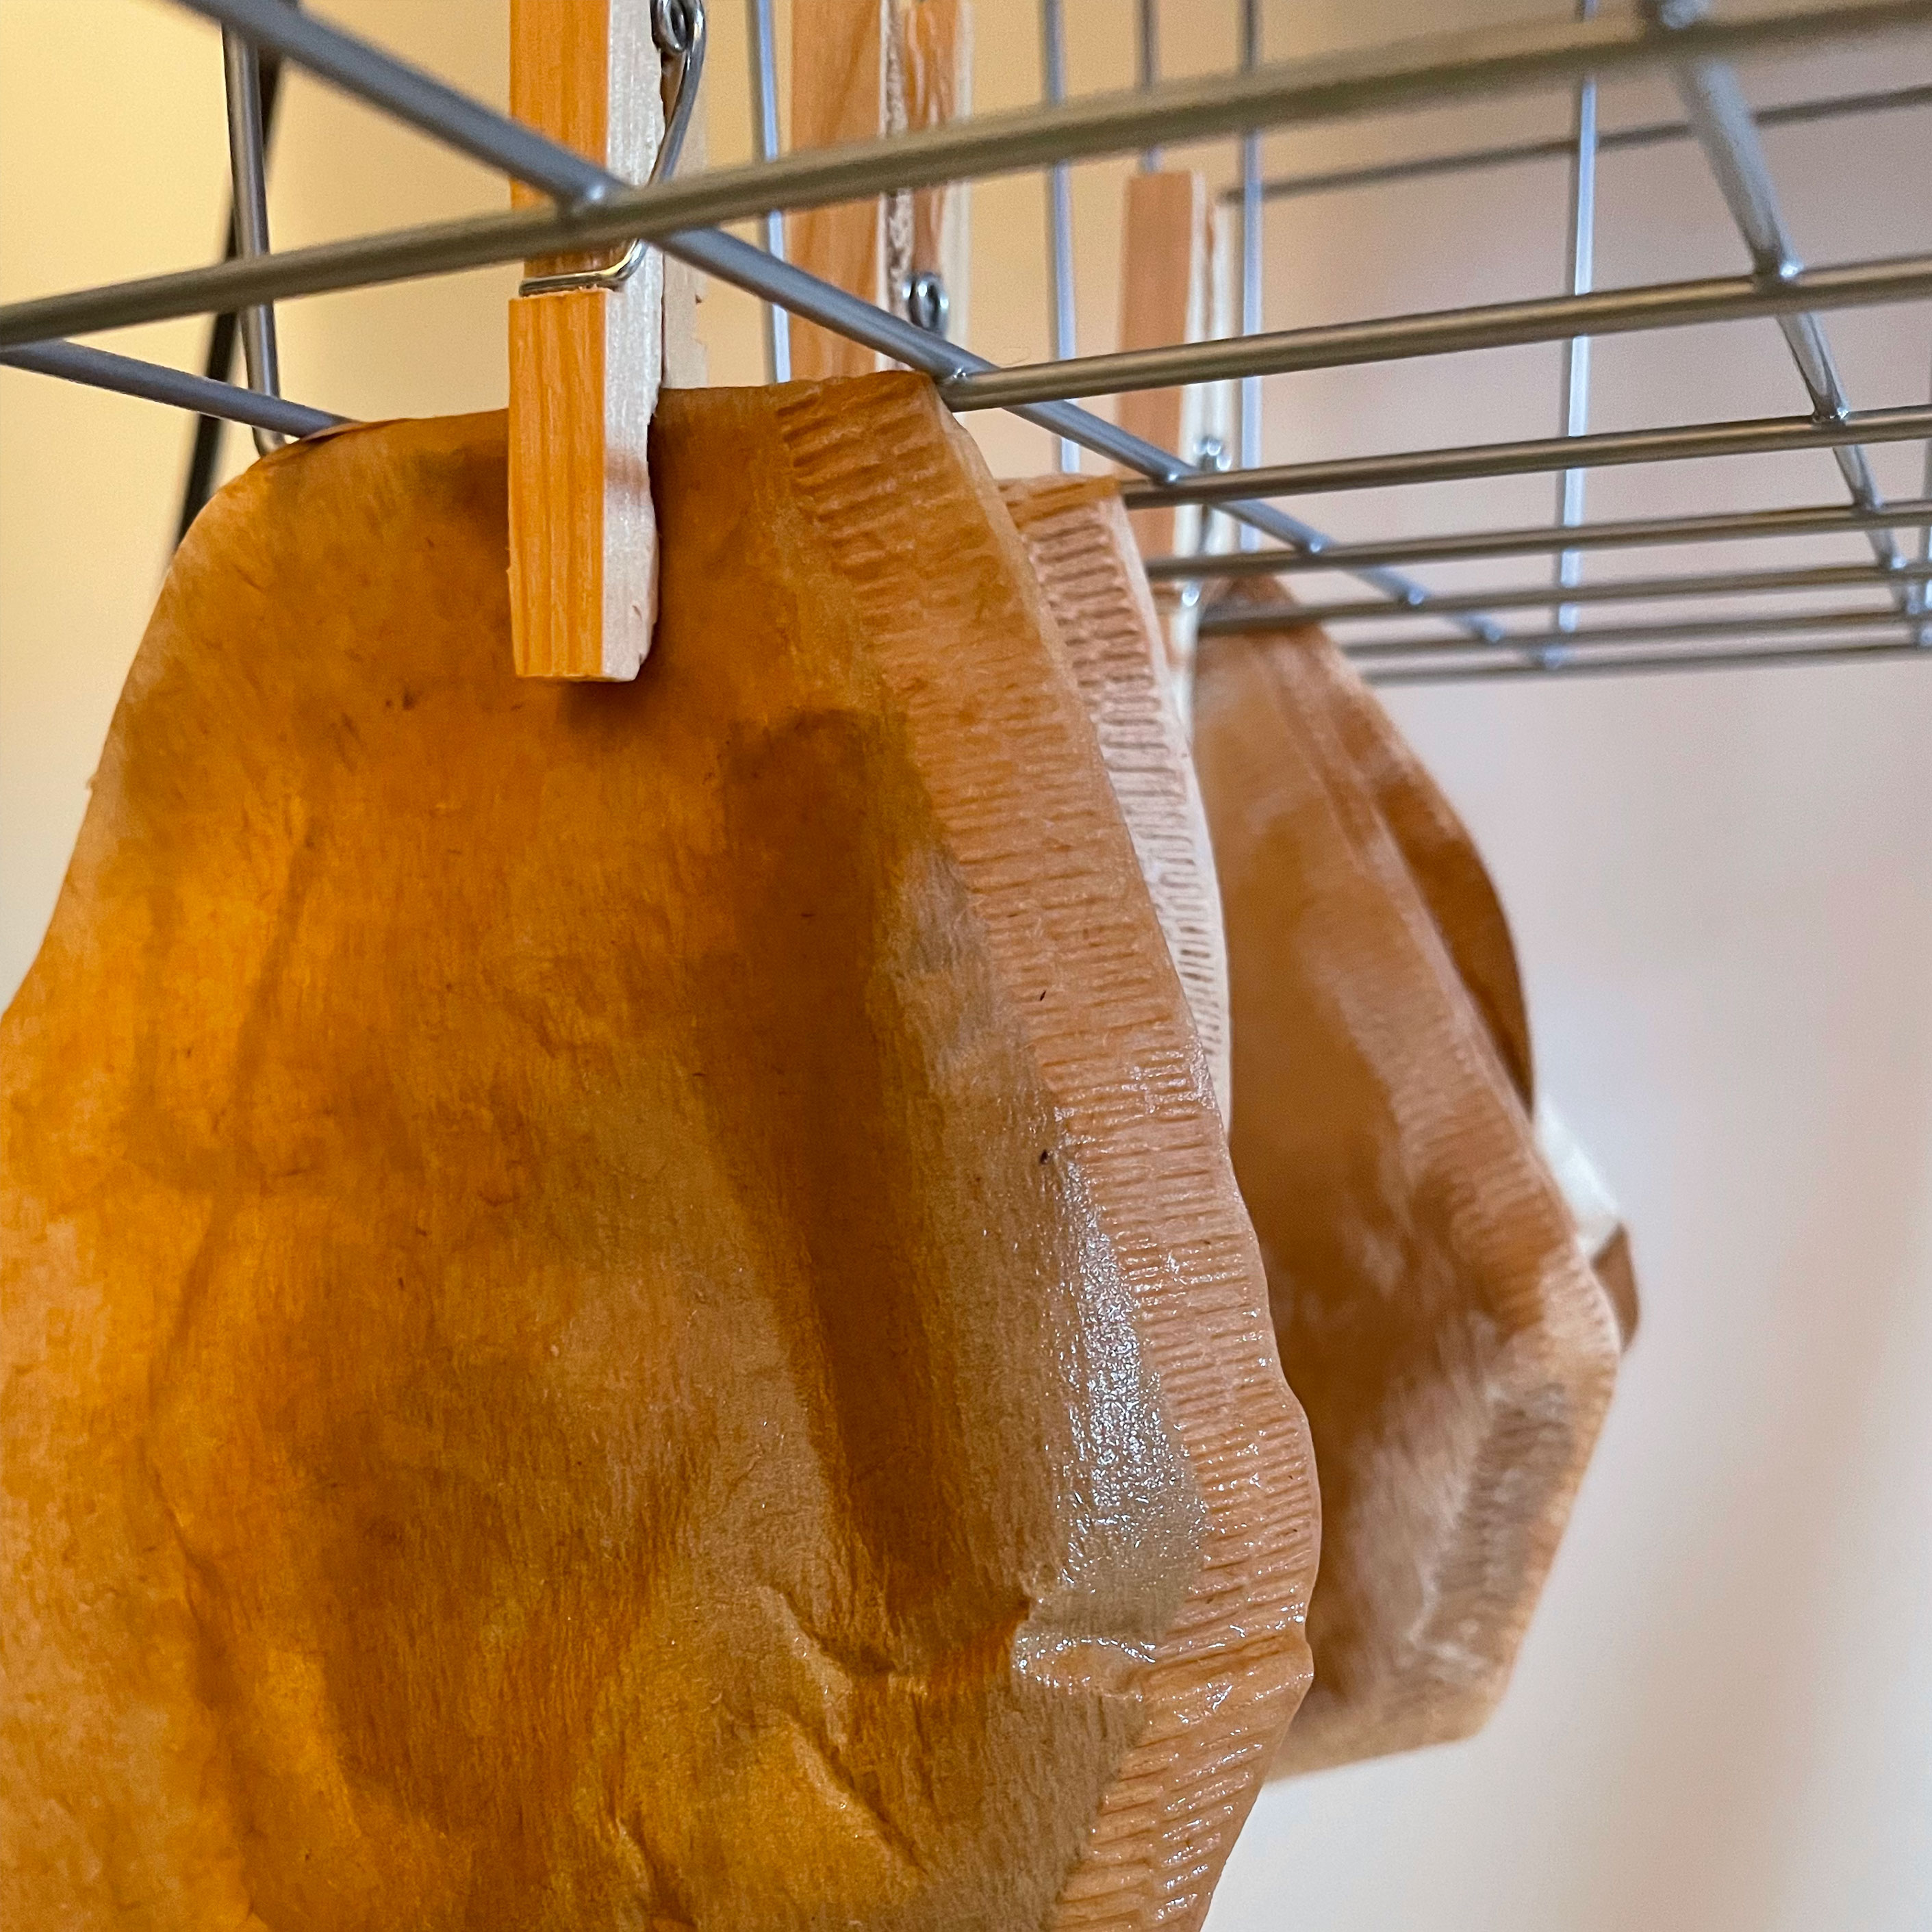
Drying
I hung the filters up to dry, and waited...
Final result...?
Okay, so I actually forgot about documenting the process from here... to be fair, it's been about a year since I started writing this post. But I have had success. Stay tuned for an update with the final result!